For San Diego Comic-Con David went as Anakin, and I went as Padme (see the Anakin tutorial
here). David looks kinda like Hayden Christensen, and I am 7 months pregnant, so it was the perfect costume.
I used the
rebel legion guide and
exhibit photos from Padawan's Guide to make the costume.
FABRIC:
Shirt and sleeves:
Soft Suede Mocha ($6/yard, I bought 3 yards)
Leggings:
Ponte Double Knit Ivory ($6/yard, I bought 2 yards) (This fabric is the right color, but is not very stretchy. If I could re-do it I would not buy double knit)
Boots:
Ramtex Microsuede Chocolate ($5/yard, I bought 1.5 yards)
Leather Straps:
Faux Leather Buffalo Brown Print ($6/yard, I bought 1 yard)
I had a ton extra of every fabric I bought.
LEGGINGS:
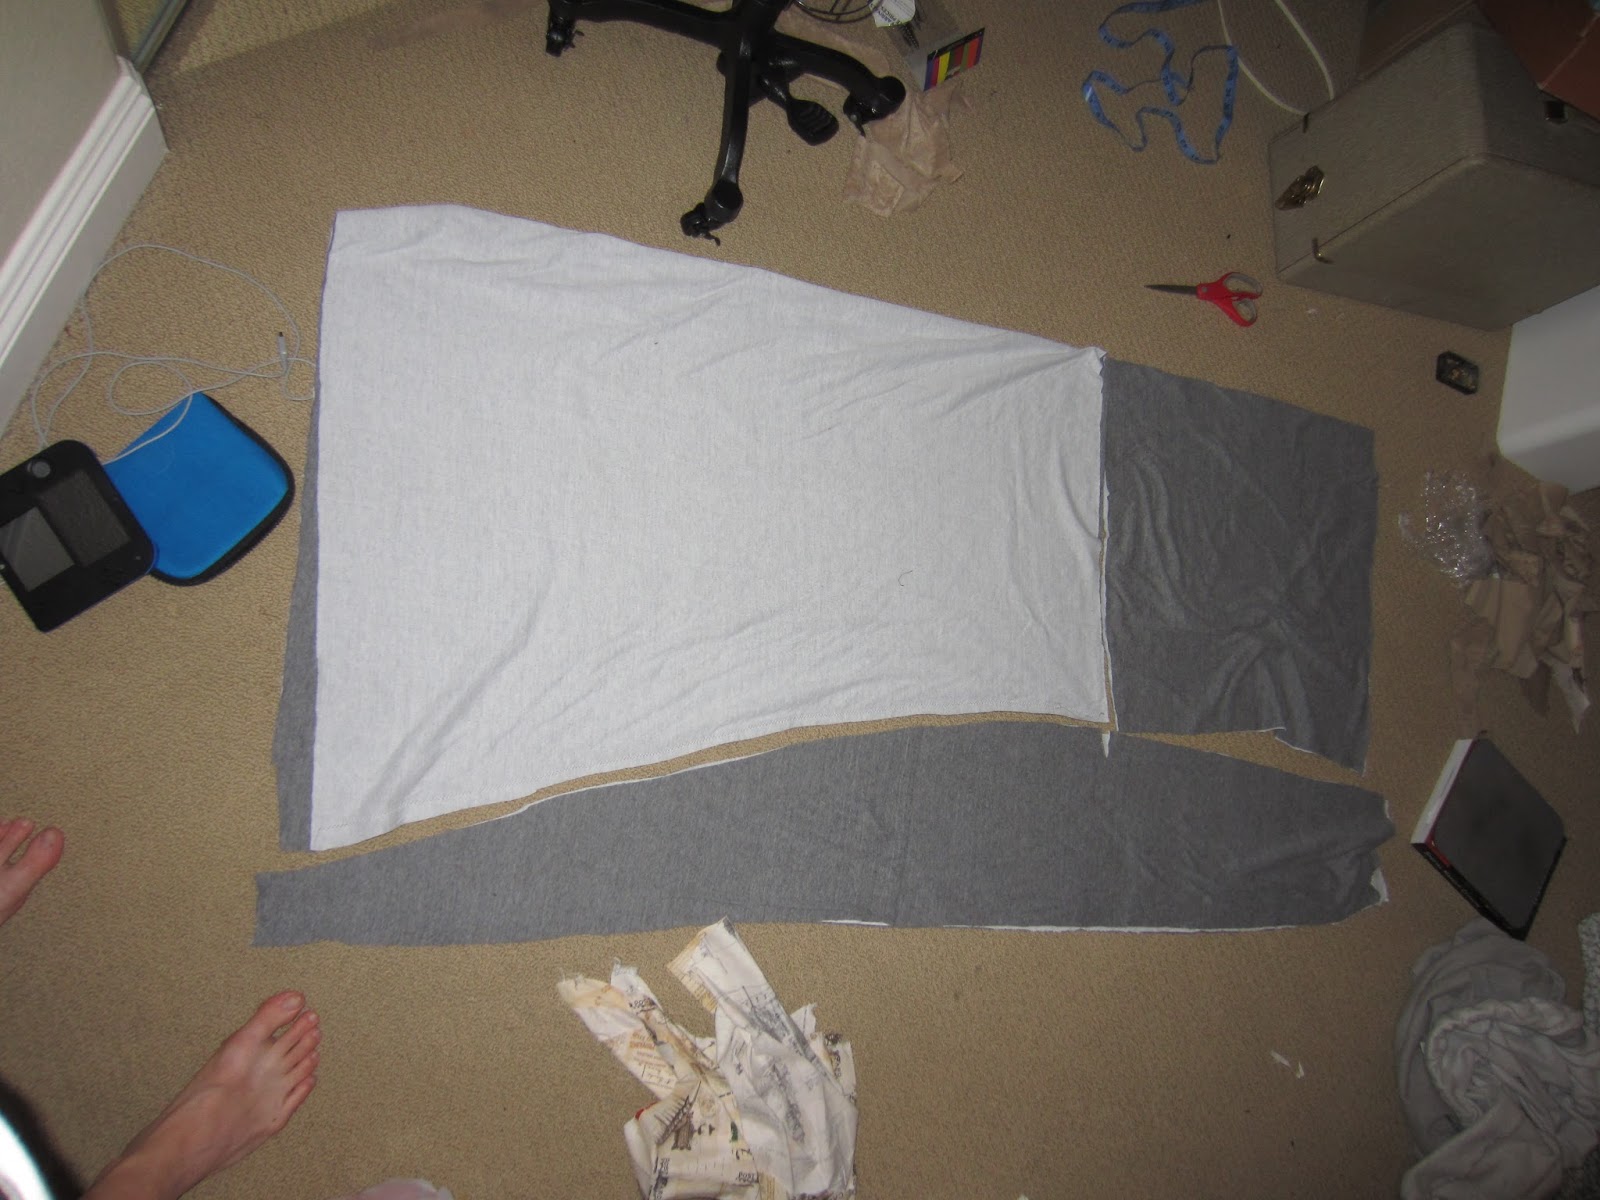
I found a leggings pattern online
here. I had to add a lot of of width because I am way bigger than the pattern. In the end, the butt still wasn't big enough, but the shirt covered it up. I traced the pattern from the computer screen onto my fabric, and then sewed it together with elastic at the top. I din't finish the bottoms because they were tucked into the boots anyways.
SHIRT:
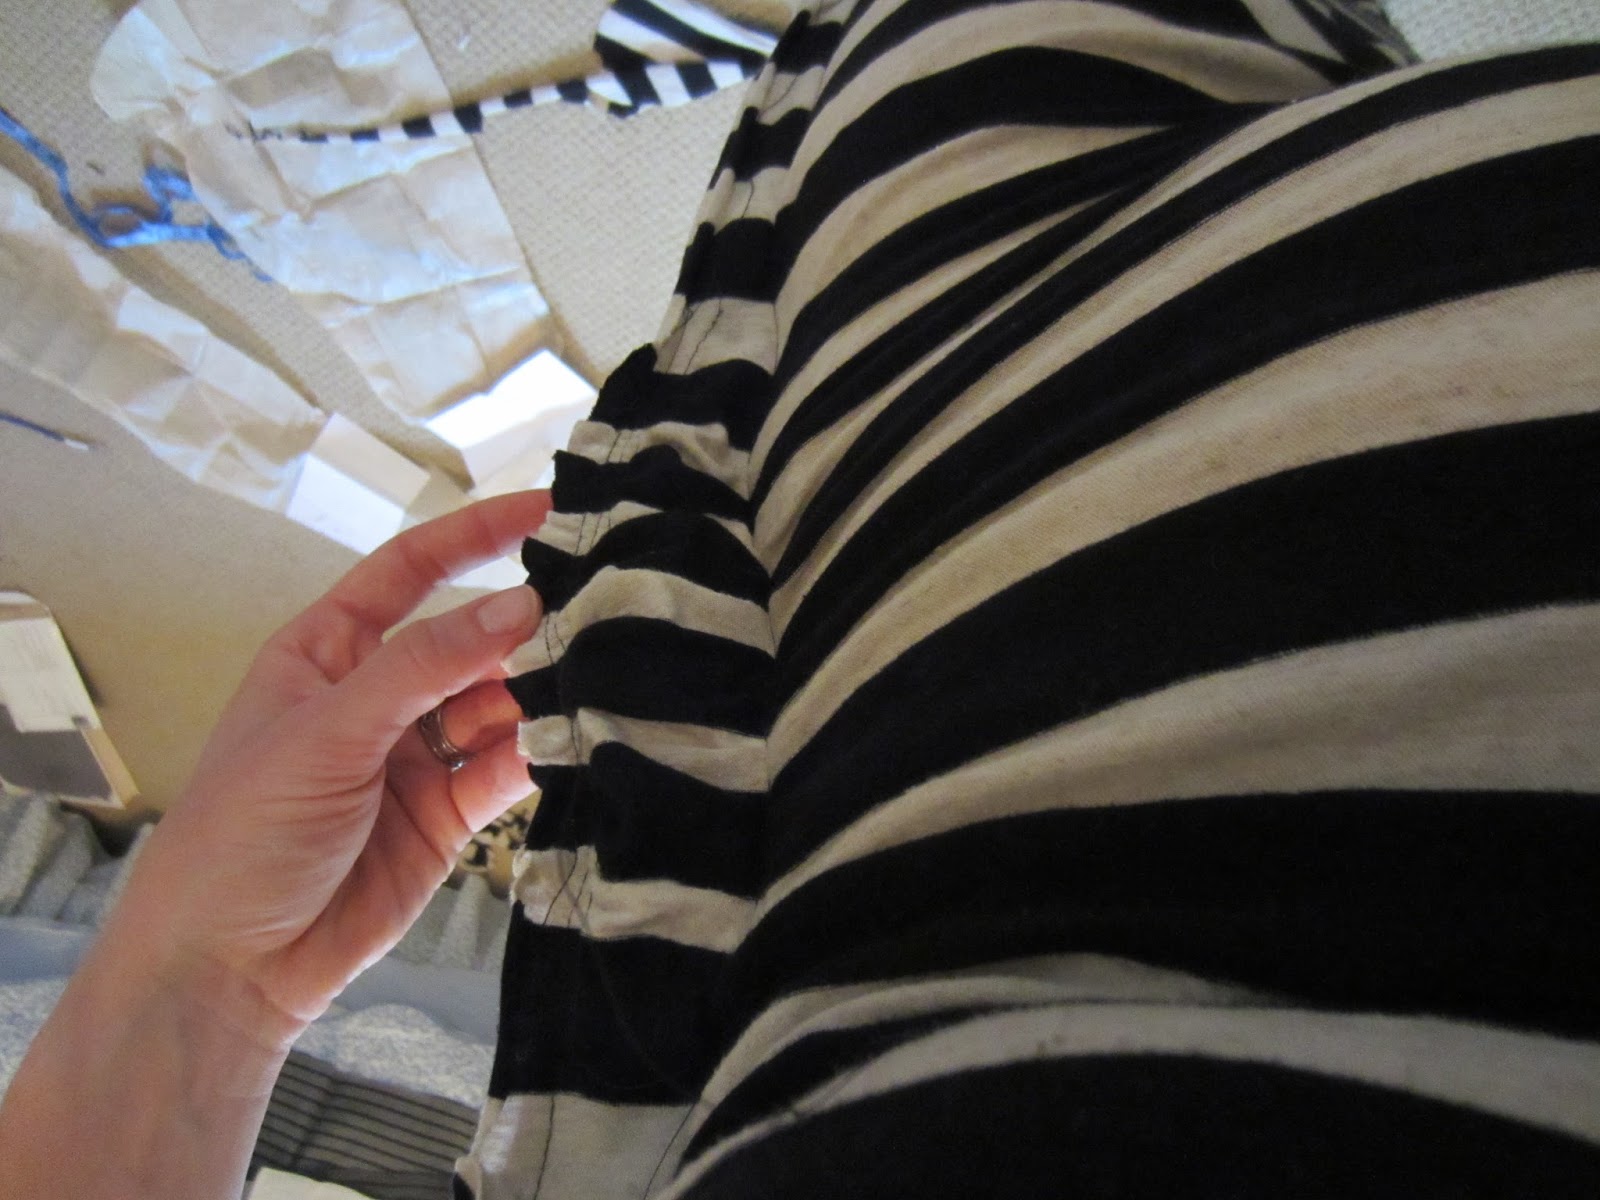
I did not use a pattern for the shirt because I couldn't find one that was close enough that I could just adjust it. Instead, I put a cover on my dress form and stuffed it with Poly-Fil so it matched my pregnant measurements. Then I used scrap fabric to pin the pieces how I wanted it to look onto the dress form, and used that as my pattern. I seam finished by top stitching, and it closes in the back with an invisible zipper.
The collar I cut out a moon-shaped semi-circle and sewed it onto the shirt. I hot glued the front and back of the collar together so they wouldn't separate and wrinkle when I was wearing it. I sewed the collar on to the shirt right sides together, then top stitched with the seam folded towards the shirt to help the collar stand up. I didn't sew the collar to the shirt at the very back, which left a hole a few inches wide so that the invisible zipper can zip all the way up.
I sewed a snap on top of the shoulder to keep the leather straps in place while I was wearing it.
I marked it so I knew what was what and which direction the lengthwise grain should be.
Cutting out the fabric. Make sure to add seam allowance to the pattern pieces.
I had to add a strip to the shoulder seam because it wasn't fitting me right.
Seam finish/top stitching.
Collar mock up.
Baby blue was the zipper I had on hand (20-22")
Final collar shape.
I hand sewed it at the V so it was invisible.
Top stitching that was hidden under the collar.
Back of the shirt.
Back of the shirt.
The hole so the zipper could zip all the way up.
Snap sewn on to keep the leather straps in place.
SLEEVES:
The sleeves were just trial an error for size. I basically sewed a cylinder of fabric, adjusted it to fit my arms, finished to top and bottom seams, and then tacked on a strip of elastic on the inside of the upper sleeve so it would stay on my arm. I didn't make the elastic small enough, so it still kept slipping down all day long, but not too much since the sleeve was fairly tight.
I hand-embroidered the Naboo symbol onto the left sleeve using embroidery floss (the right sleeve doesn't have the symbol). I traced the symbol on the fabric from my computer screen, and embroidered it inside an embroidery hoop.
BOOTS:
I bought some comfortable loafers that had the right heel height I wanted from a thrift store for $6. Then I made boot covers from a faux suede fabric. I made the boot pattern cover by wrapping my legs in hand towels, wrapping that with saran wrap, wrapping that with tape, and cutting it out along the lines I wanted. Once the pieces were sewn together, I hot glued them to the loafers leaving the soles visible. It wasn't perfect, but looked pretty good.
I used 2 layers of fusible interfacing on the calf-part of the boot to keep the fabric upright.
Note: I had to re-do the pattern because I didn't stuff enough fabric under the saran wrap in this picture.
The loafers under the boot.
Adding seam allowance.
LEATHER STRAPS/GOLD PIECES:
I made the straps about 2 inches wide, which was too big. I also made the gold pieces too big, but I didn't realize until a week before the convention. I will re-make them to be appropriately sized later on.
The straps were made from faux leather that I folded over the edges and hot glued down. No sewing. The straps curve around my chest, and to make it curve I added in some "darts" by snipping the leather and hot gluing it on top of itself to look like a dart, basically removing a triangle of fabric. I made 2 darts on each strap. I sewed the 2 straps to one another where they cross, and then hand-sewed the criss-cross straps to the horizontal straps in the back. The straps close with 2 sew-on snaps.
The gold pieces I made with Fimo clay and some clay sculpting tools. I molded the pieces on top of a foil piece wrapped around cardstock that was the right shape. Then I baked it and painted it with acrylic paint. I painted it black and then gold. I tried to leave the black in the crevices to give it depth. The smaller piece I painted black before baking, and gold after baking, and that worked really well. The larger piece I primed it before painting it black then gold. It worked fine, but maybe not as well.
Fimo is not very sturdy, so I hot glued some toothpicks onto the back to give it strength. I hand sewed this onto the shirt or straps with gold thread. The big piece was still too fragile and ended up breaking at the convention. In the future I might take the Fimo mold and cast it and mold it out of an epoxy resin that won't break.
The back of the straps. You can see on the left side of the picture how I hand-sewed the diagonal strap to the horizontal strap.
Card stock template.
Partially molded.
Tooth pick reinforcement.
HAIR:
I bought a skein of brown hair extensions from Sally Beauty supply for $3. It was a little darker than my hair, but it was close enough, and I couldn't beat $3!
I made these extensions into clipp-able and less messy extensions by putting a line of hot glue onto the tile counter, putting a chunk of hair into the glue, then putting more hot glue on top of that. Once those were dry I clipped them onto my hair with hair clips. To do my hair, I just took chunks and twisted them around and bobby pinned them down. I had no idea what I was doing but it turned out looking good. The rest of the hair went into a braid down my back.
I made the hair strap by hot gluing two thin pieces of faux leather together and drawing the sides with sharpie so that the white fleece backing was colored brown. I wrapped this around my hair, and hot glued it together at the bottom of my braid.
The clips I used to attach the extensions to my head.
Total amount of bobby pins and clips and hair ties used.
Coloring the fleece backing for the leather hair wrap.
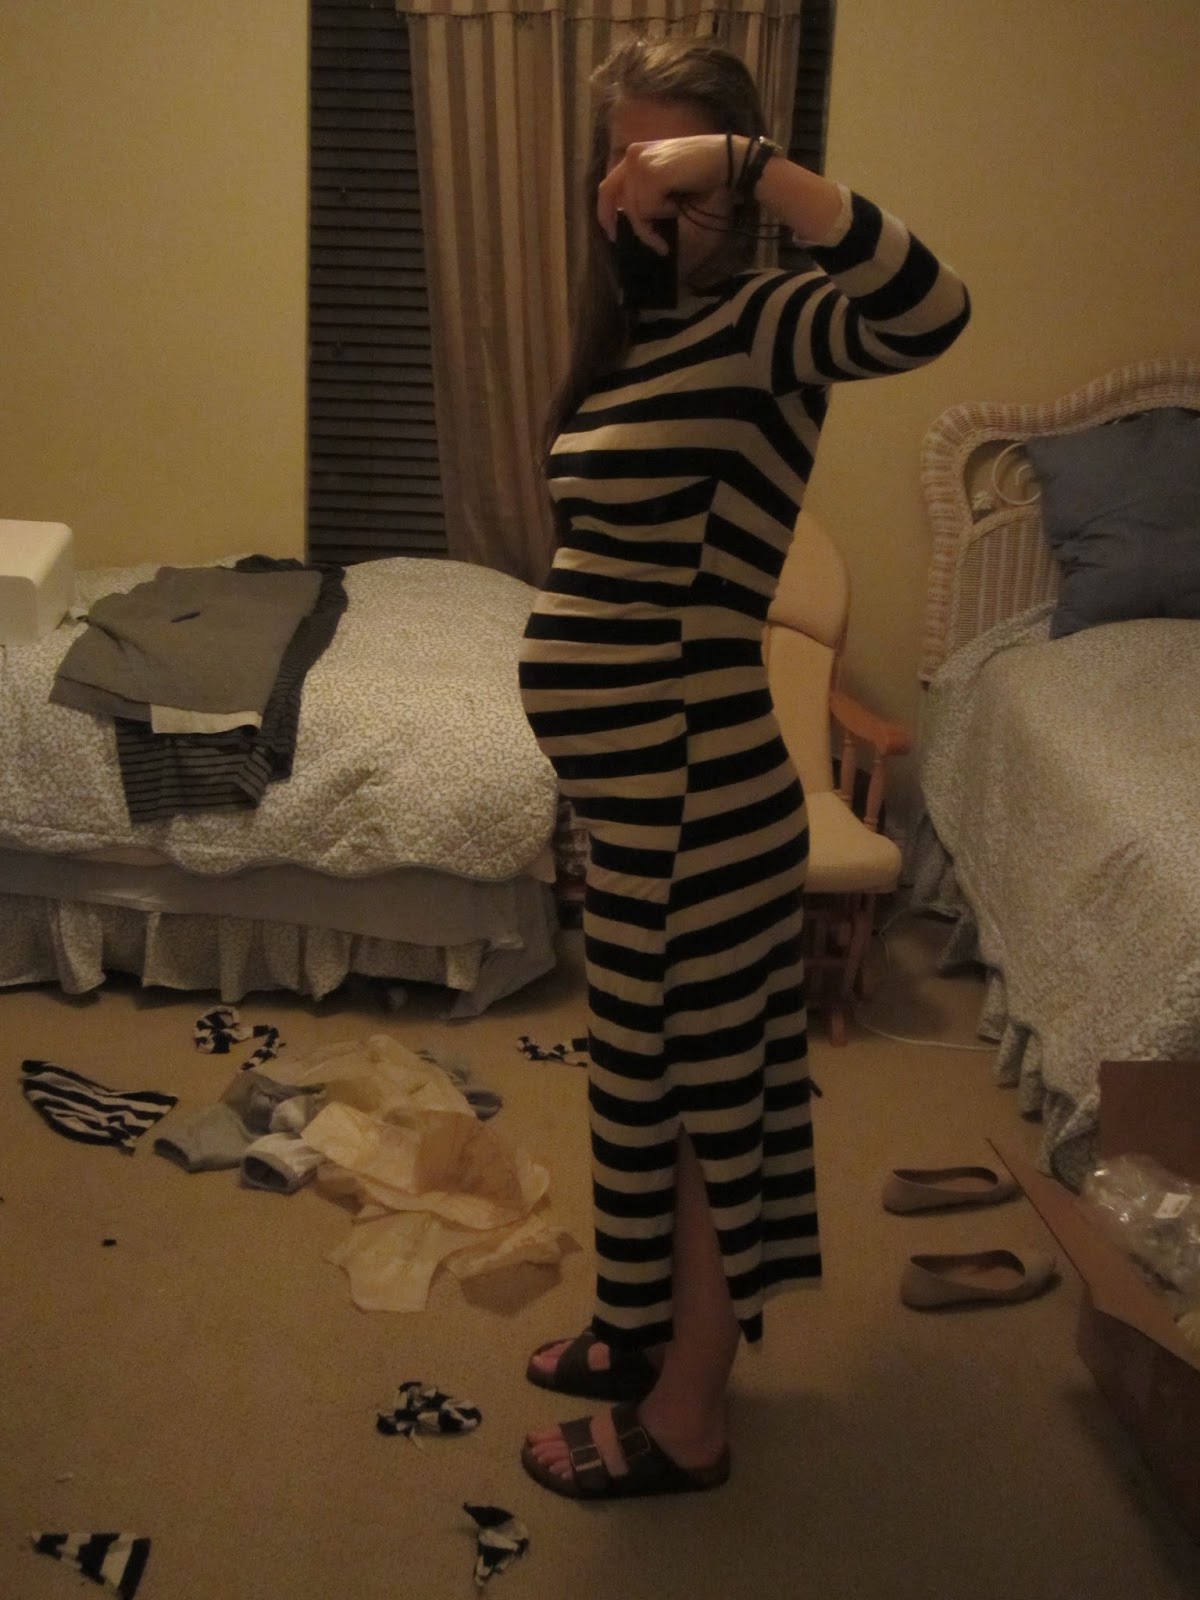
This was at the end of the day, so it was a little messy.
Finished Product: